
News/Blogs
Choosing a Great Portrait Reference Photo
02 July 2024
When commissioning an artist to draw from a photo it is important to remember that a good reference photo can make all the difference. If the photo is blurry, or you can’t see the person’s features then they simply can’t recreate it.
Here’s a guide to help you capture the perfect reference photo.
FOCUS AND CLARITY
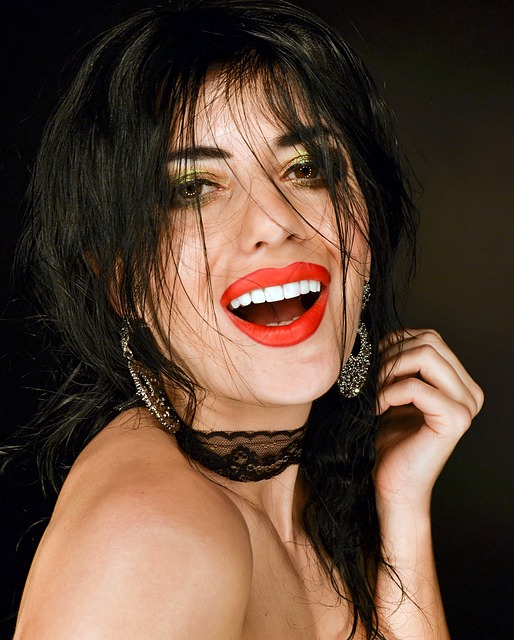
The face should be clear and in focus, especially the eyes. Blurry photos make it difficult to work from.
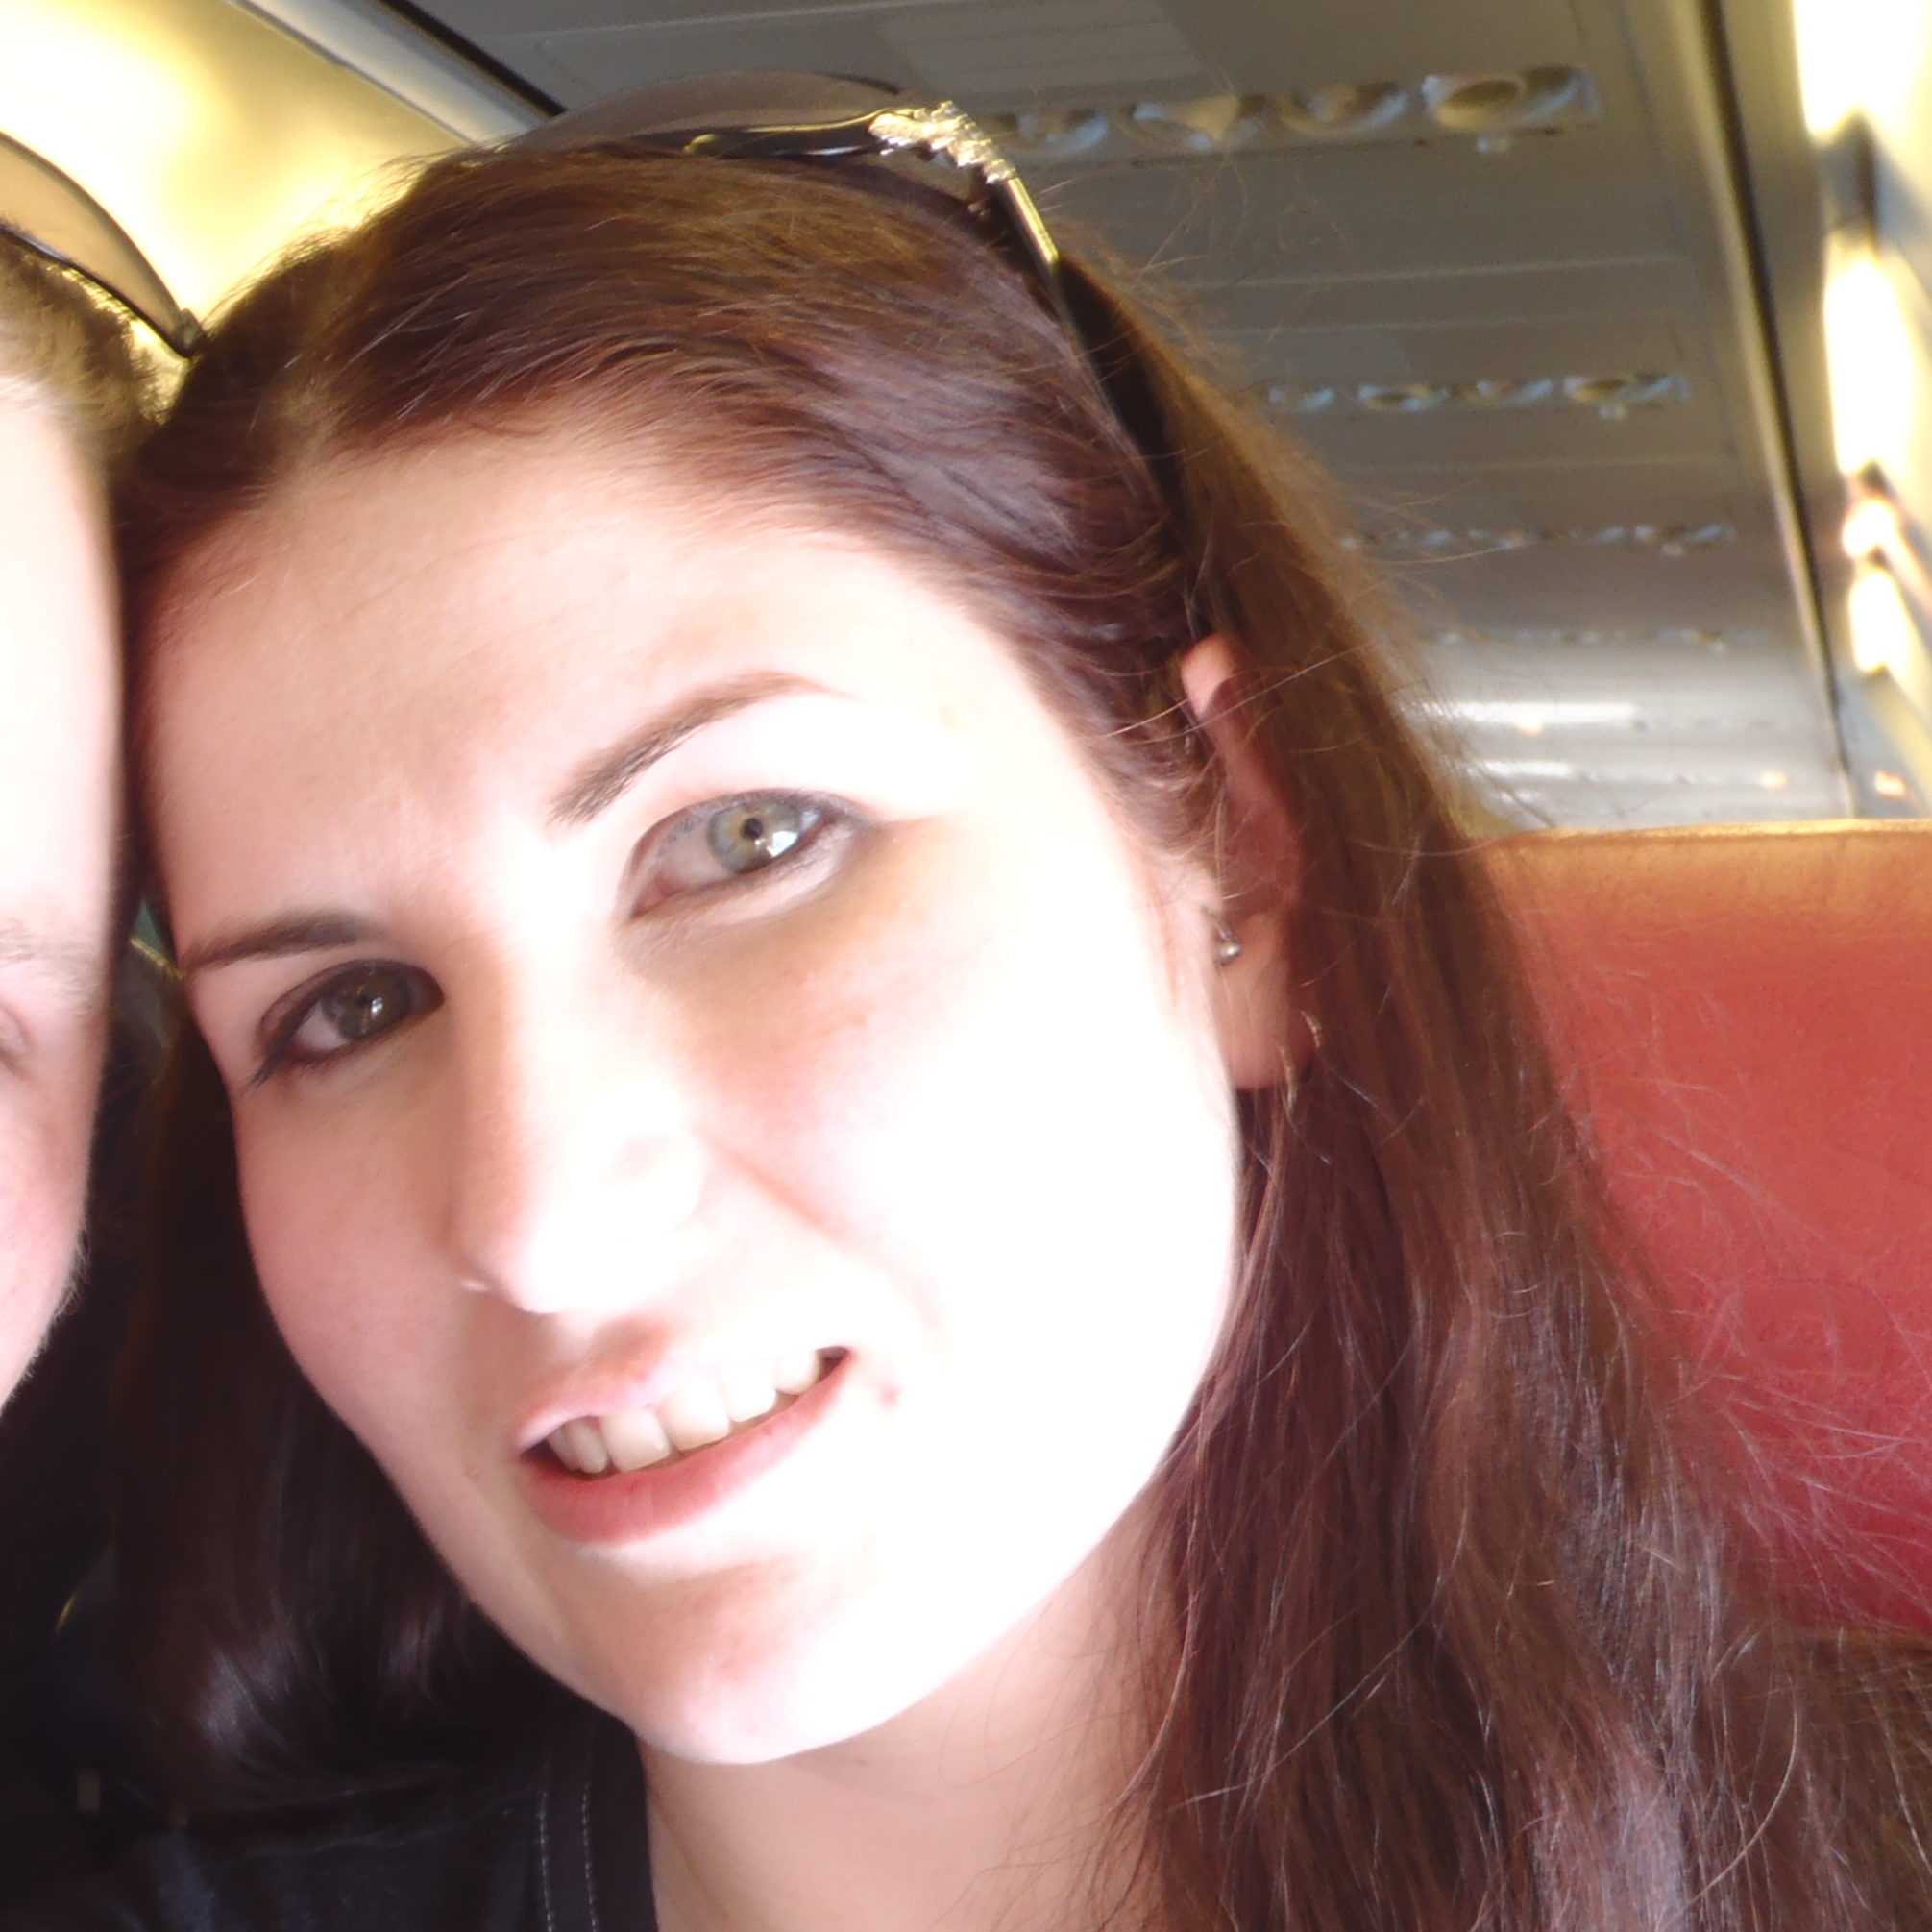
You can see from the photo on the left it is hard to make out the finer details. You can’t even tell what colour the eyes are. They would need to “make up” the person’s facial features to be able to draw from this photo. This runs the risk that the artist could get it wrong.
The photo on the right is sharp and clear enough to work from.
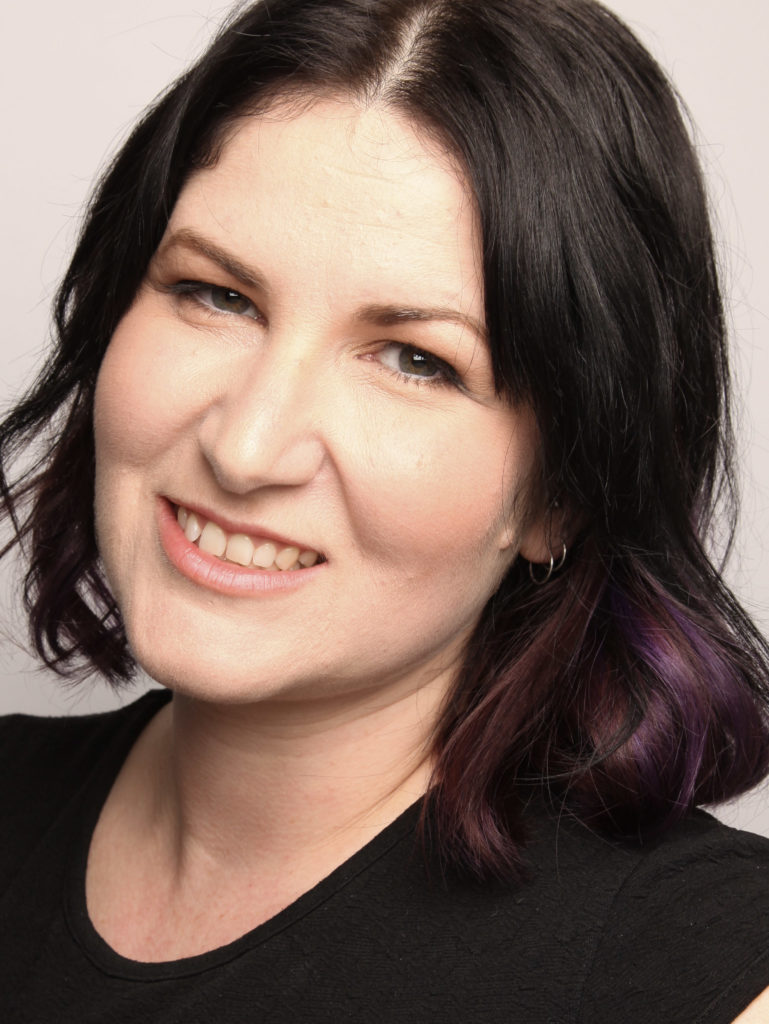
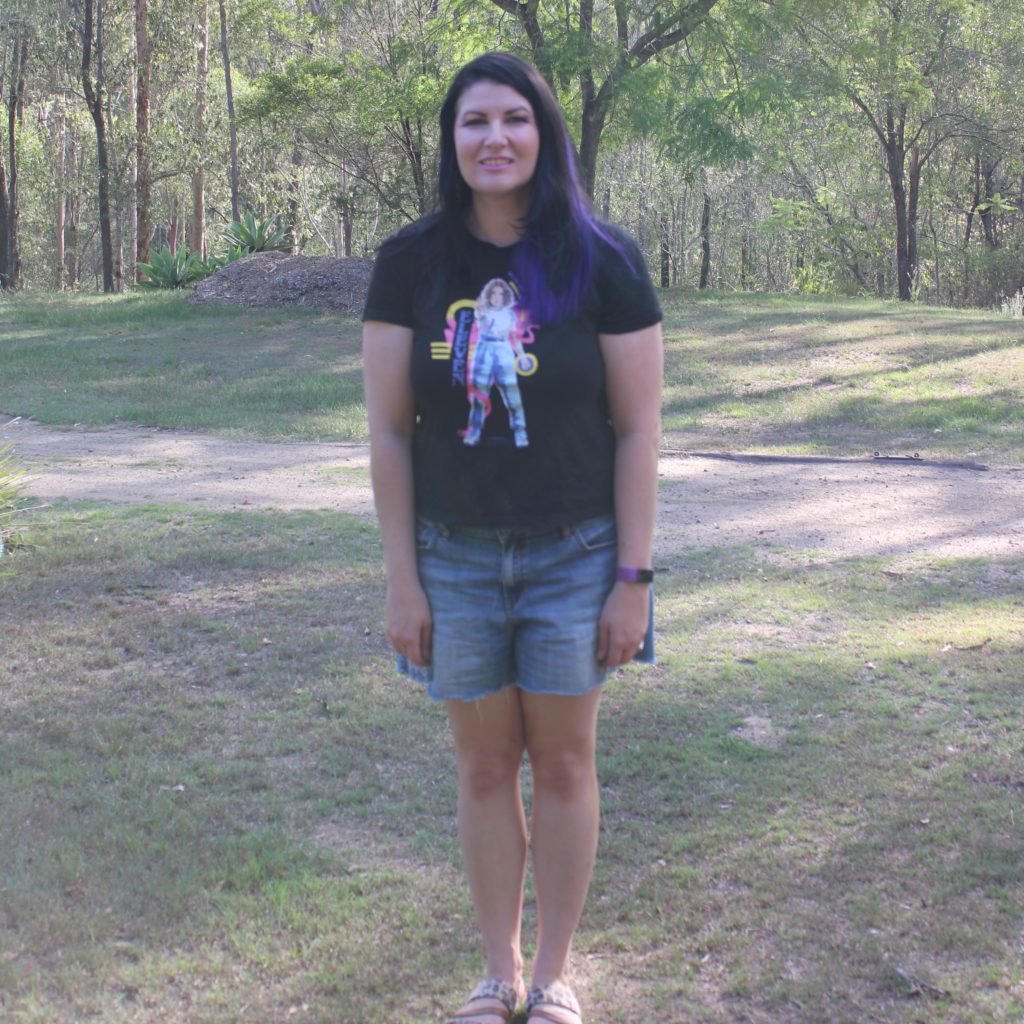
Distance from the camera makes a difference if you want a portrait artwork. If you are too far away from the camera, the photo may look great at first glance, but once you zoom in you will lose clarity in the face. Try to ensure you are close enough to the camera to be able to see the facial features.

LIGHTING AND SHADOW
Good lighting is crucial! Look for photos with clear light and shadow definition. This helps the artist understand the form and structure of the face. Natural lighting is usually better than artificial lighting.
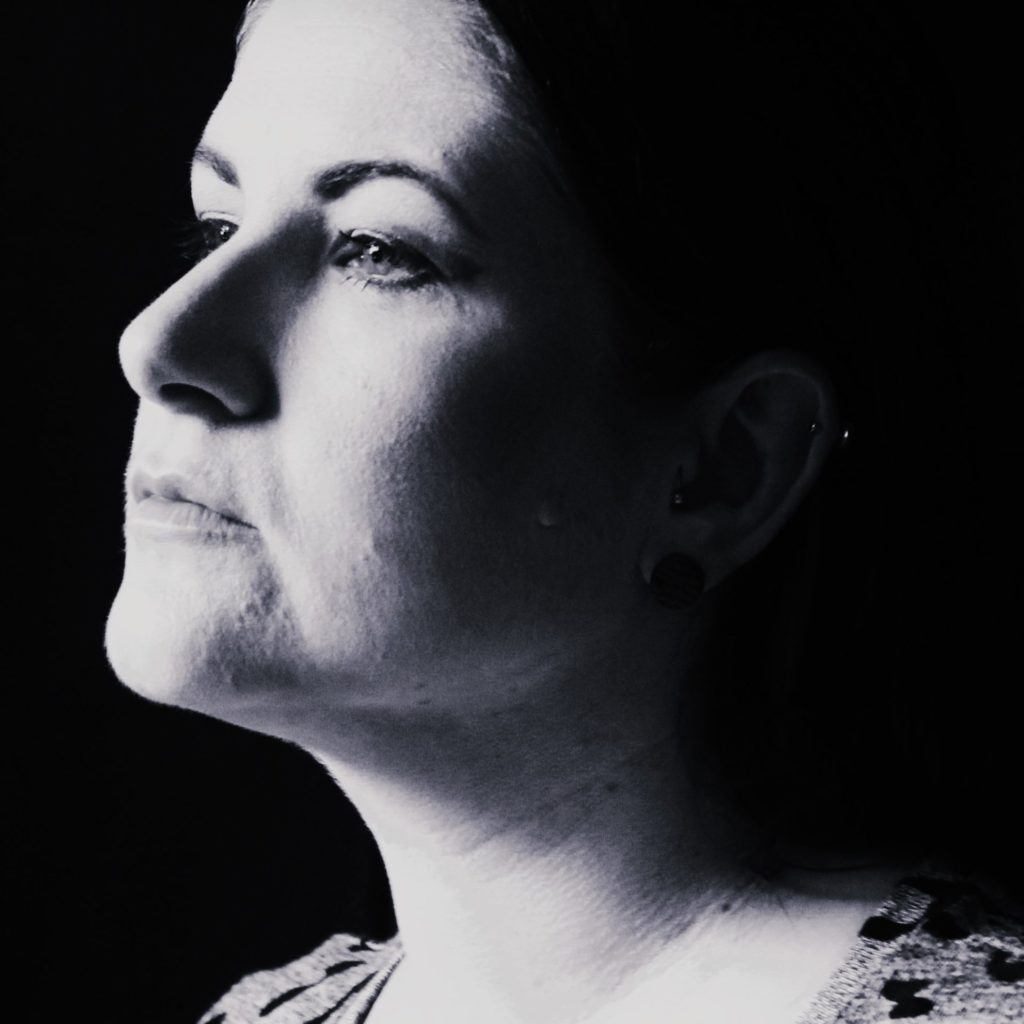
When taking a photo, consider the direction of light. Dramatic lighting with a strong light source can be great as it emphasizes facial features – but you need to be careful as it can sometimes remove some core facial features needed. The black and white photo below is a good example of dramatic lighting used well as you can clearly make out the facial features.
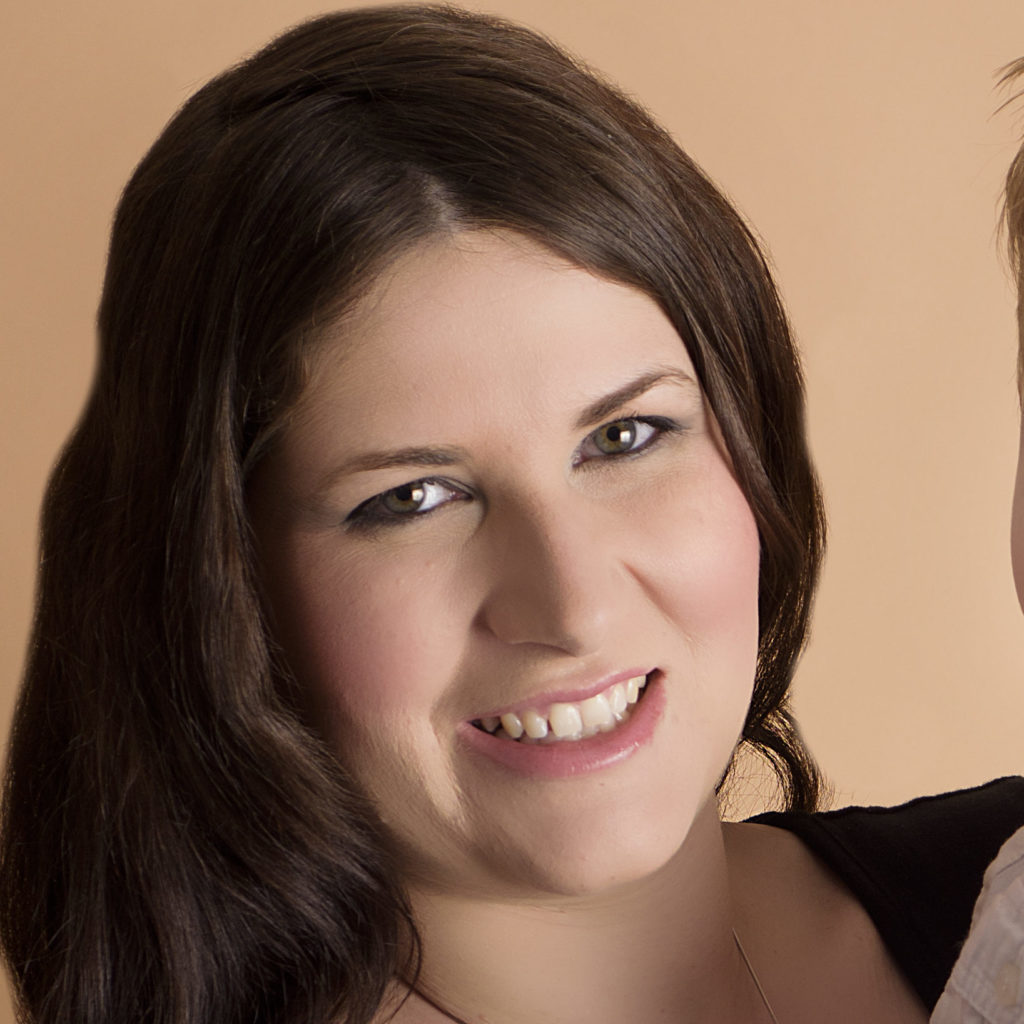
The example photo on the right has more even lighting but the light direction is still coming from the upper right side, and the face is not washed out. It is clear enough to see all the features.
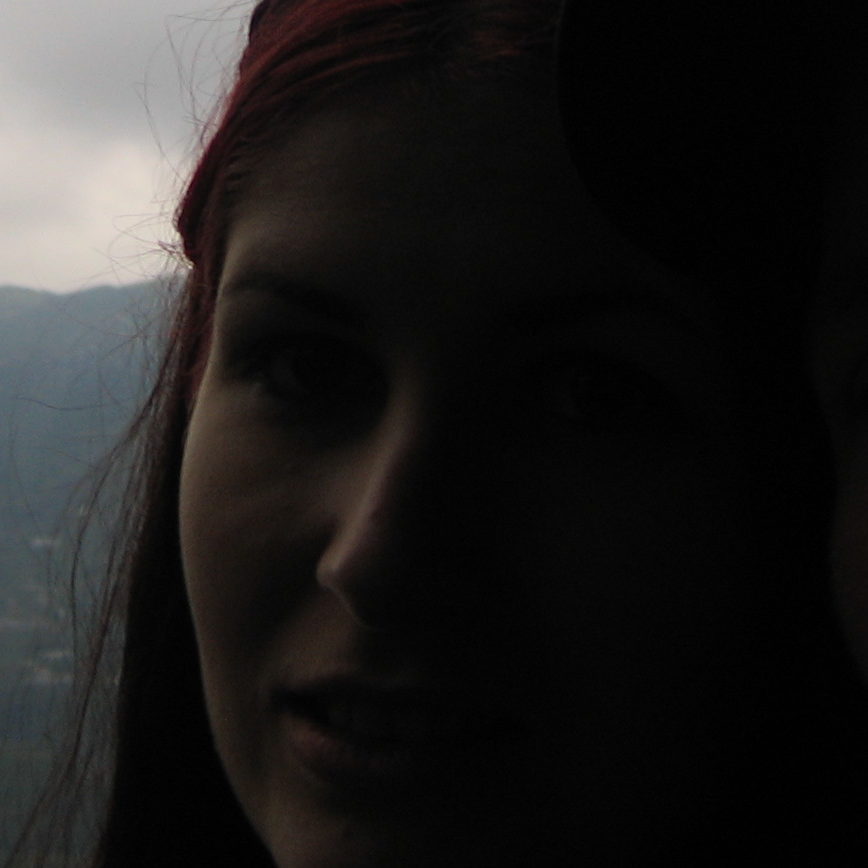
However in the “dark” example photo below, you can’t see half of the face. Whereas with the “light” example photo you can’t see the nose or cheeks properly. This means the artist would have to “make it up” these features – not ideal.
EXPRESSION AND EMOTION
This is the fun part! This is where “YOU” and “YOUR STORY” can come through. Your personalised touch to the artwork.
You don’t need to sit in in front of the camera smiling nicely like you are taking a school portrait. Sure that can still be a great photo BUT don’t limit yourself! Good reference photos can also be where you are staring off into the distance, closing your eyes, not smiling, looking down, covering your face with your hands or a prop! Experiment! What resonates the most with you?
Think about how you want to be portrayed? Sweet, strong, bubbly, thought-provoking, bold, funny? Use props, your hair, your hands to add to the expression if needed. Think about your pose and the angle to the camera – sit, stand, jump, lay down, look up, look down. There are no limits!!
I’ve included a few reference photo examples to help inspire you when taking a reference photo. But at the end of day you know you best – have fun and snap away!
EXAMPLE REFERENCE PHOTOS


All reference photos taken with permission from Pixabay.
EXAMPLE ARTWORKS
Here is a sample of some of my portraits so you can see how the final piece may look.
The common theme across all these artworks is that none of them are smiling nicely at the camera – each artwork gives you a different mood and emotion. A snippet into the person and their personality.


ADDITONAL TIPS
Resolution: Make sure the photo has a high enough resolution for your project. A low-resolution image will be pixelated when you zoom in.
Ask for help: If you can, ask a family member or friend to help you take some photos.
Colour: Always supply photos in colour even if you are requesting a black and white artwork.
Amount: You may take hundreds of photos and only a handful will be good. That is normal! When sending through photos for consideration, always send 3-5 photos.
Copyright: If supplying a professional photo to me, you must ensure you have written permission from the photographer in order for me to use it as a reference photo.
I understand in some cases the person may have already passed on so getting that perfect photo is not always possible. In this case, reach out to family and friends and send through as many reference photos for the artist. The artist can sometimes use a combination of photos or with the help of AI, re-generate or clean up a photo.
Always choose photos that are clear, well-defined, with good lighting and that shows the facial features clearly.
